Hands-on review
North Spore Pink Oyster Kit: An Honest First-Grow Review
Published May 31, 2026 · Updated June 21, 2026 · By Chih
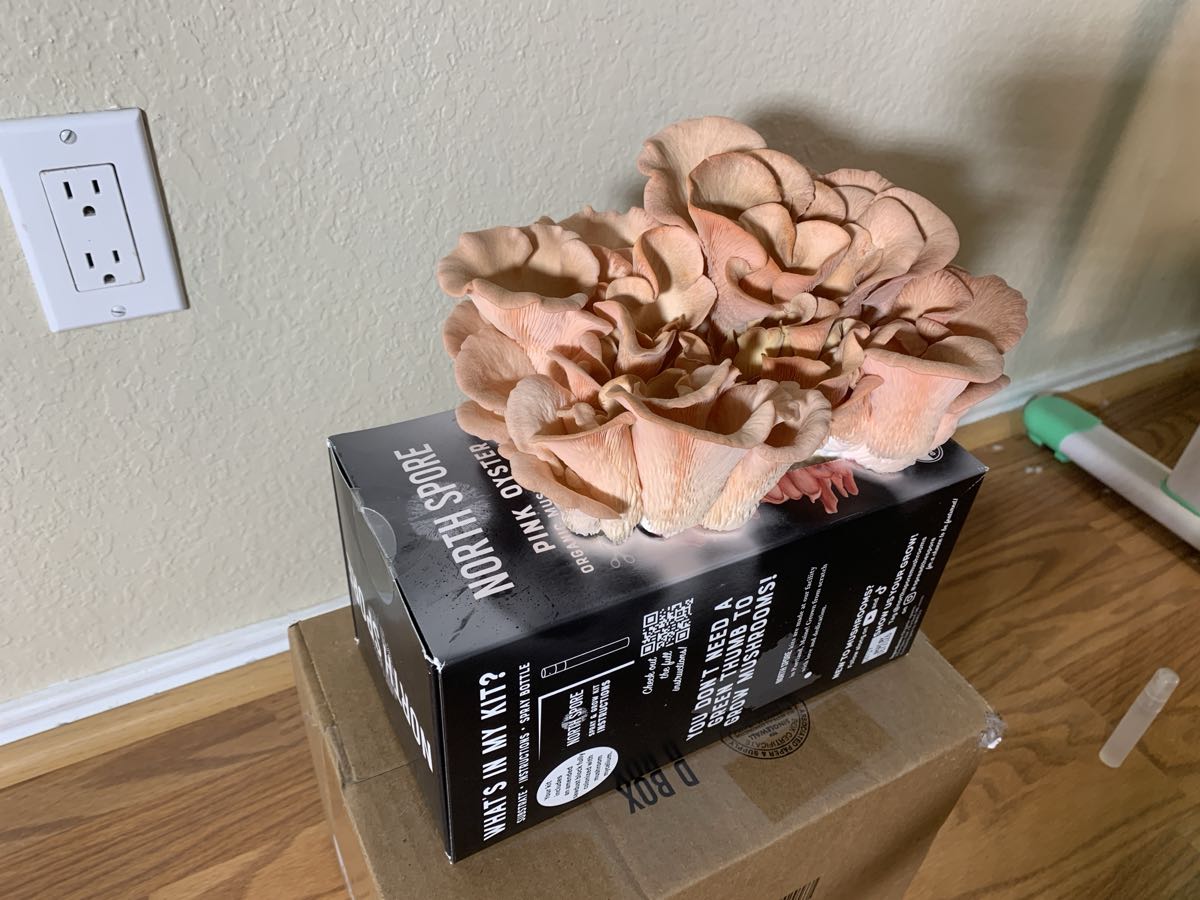
The verdict
A genuinely beginner-proof first flush that's fast and fun to watch. It even forgave me forgetting it for a month. Just plan to cook them the day you pick them, and treat the second flush as a small bonus.
- Product
- Pink Oyster Spray & Grow Kit
- Supplier
- North Spore
- Species
- Pink oyster
- Price
- $29.99 on Amazon
What worked
What to know
This is an affiliate link. MushroomGrowLab may earn a commission if you buy through it, at no extra cost to you, and it doesn't change what we write.
Contents
Short version: the kit worked, it worked fast, and it forgave a real mistake. I let it sit in the shipping box for a month before I even started, then cut the bag, misted it twice a day, and had a full pink oyster harvest eight days later with no special equipment.
The honest catches are all on the back end. The first flush came in at about half a pound, the low end of what North Spore advertises. Pink oyster keeps in the fridge for two or three days, not a week. And the second flush nearly didn’t happen. It eventually showed up on its own schedule, after I’d given up on it.
I forgot it for 30 days, and that was fine#
I bought North Spore’s Pink Oyster Spray & Grow kit for $29.99 on Amazon ($32.46 with tax), and then I left it in the shipping box and completely forgot about it for 30 days.
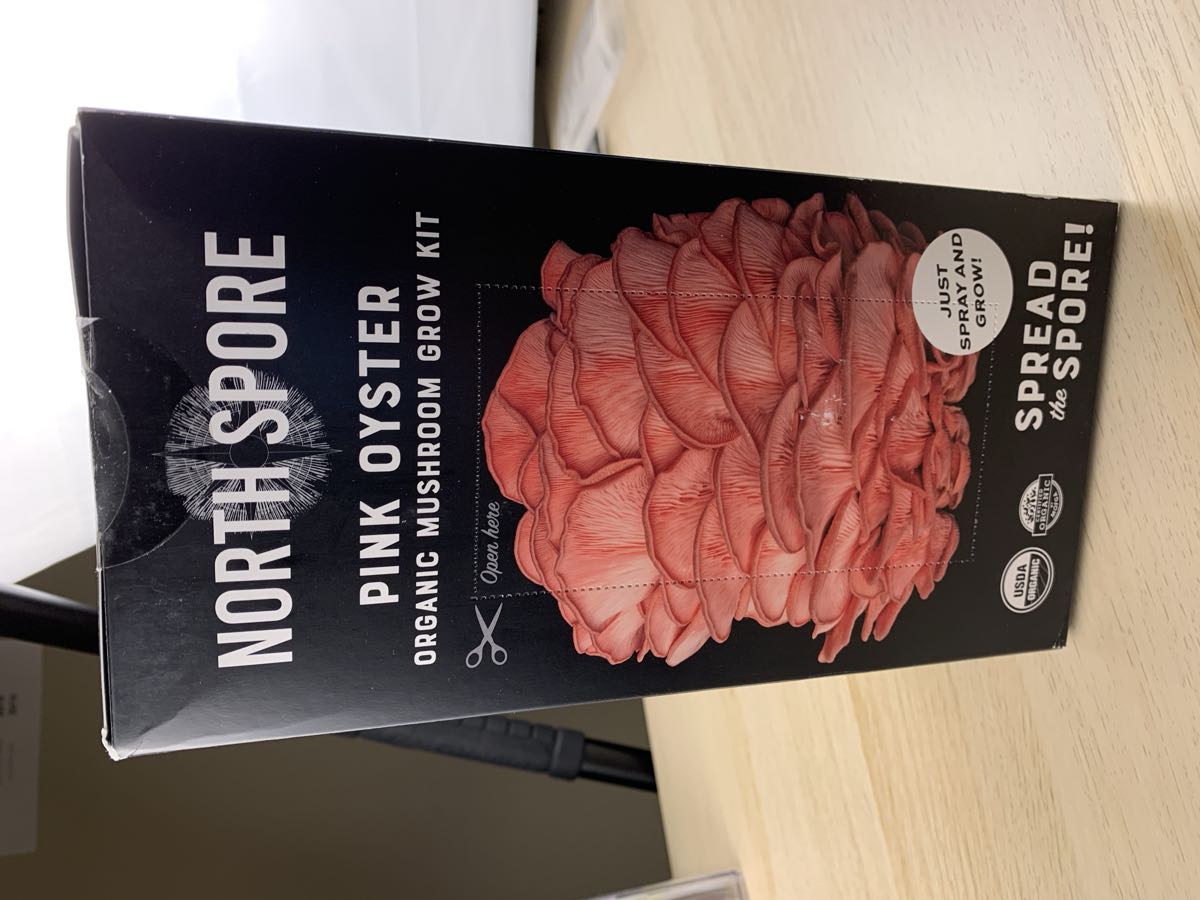
That turned out fine, and here’s why. Pink oyster is a tropical mushroom, so unlike blue or pearl oyster kits, you do not chill it to buy time. North Spore’s instructions say to keep this one at room temperature, out of direct light, and to start it within about a month. Cold damages the tropical mycelium instead of preserving it, so the move is to leave it somewhere dark and room-temperature. The Amazon box on a shelf was enough.
When I finally opened it, the block hadn’t pinned at all inside the bag. Everything was sitting there waiting on me to start the process, which is the best case after a long wait. I was right at the edge of the storage window and it still went, though I suspect the month on the shelf cost me some yield. More on that at harvest.
Getting started: the spray bottle is inside the box#
The actual setup is simple, but two things tripped me up that I can save you.
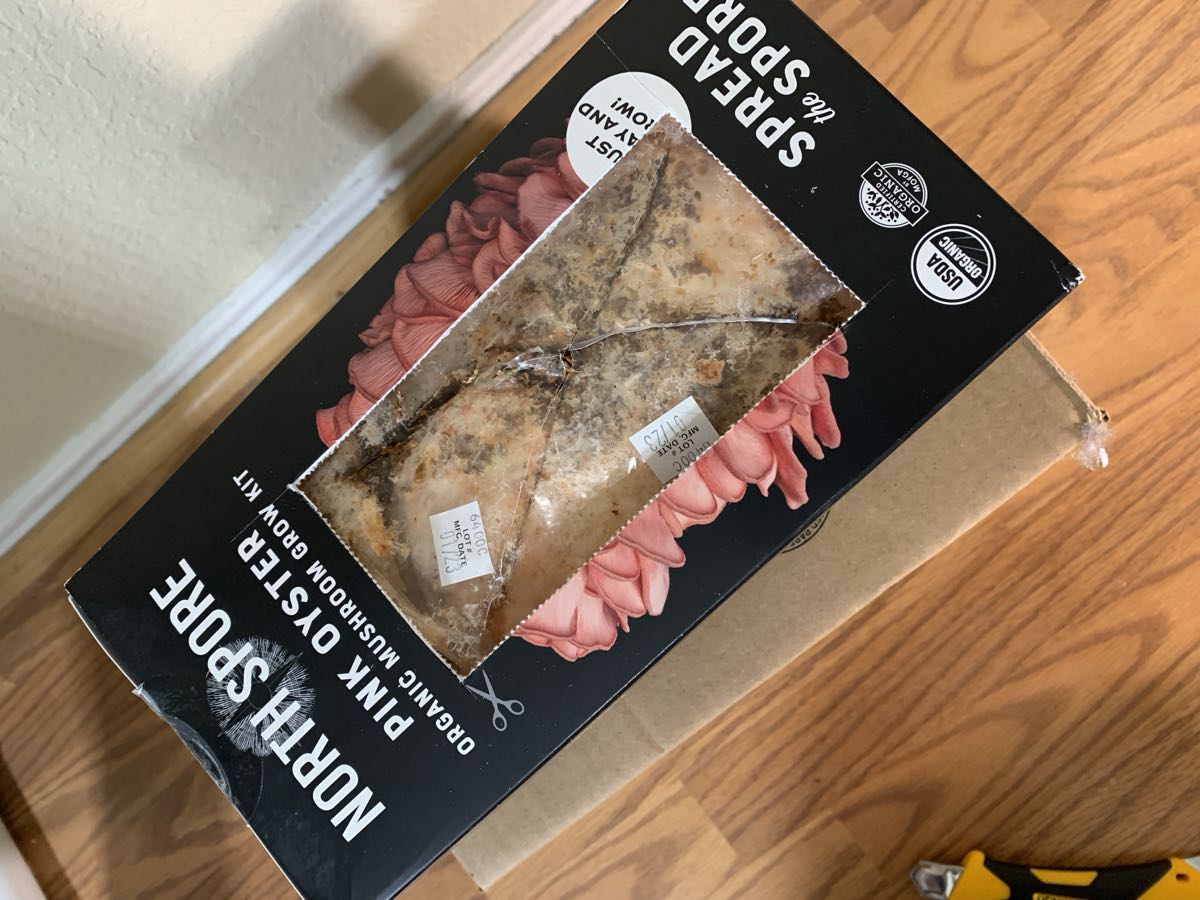
First, the grow bag sits behind a pre-cut window in the box, and you cut the plastic bag itself through that window. North Spore says cut an X, not a slit or a square. I ran a box cutter diagonally each way and left the flaps folded in. That cut face is where the mushrooms form.
Second, we spent a while hunting for a spray bottle before realizing we didn’t need to. On a whim I opened the top of the box, and the printed instructions and a small spray bottle were tucked inside. So if you’re staring at the kit wondering what to mist it with, open the top before you go digging through your cabinets.
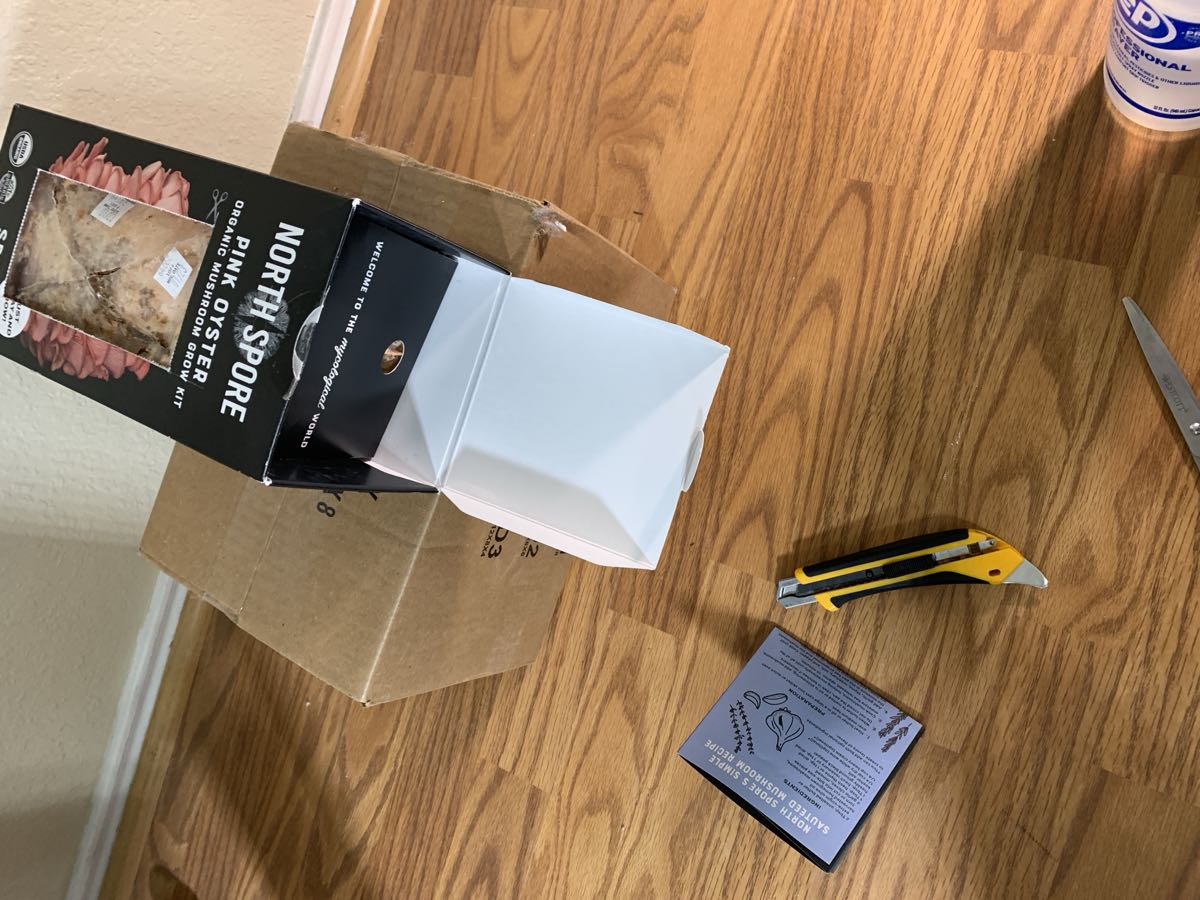
After that the whole job was two or three sprays of water into the opening, two or three times a day. That’s it.
The grow was faster than I expected#
I had a thermometer-hygrometer combo on hand, so I tracked it. Day one, the room sat around 73°F at 53% humidity. That temperature is right in pink’s comfort zone, which likes it warm. The 53% room humidity is on the low side for fruiting mushrooms, but the closed box traps a much wetter microclimate around the block, and the misting carries the rest.
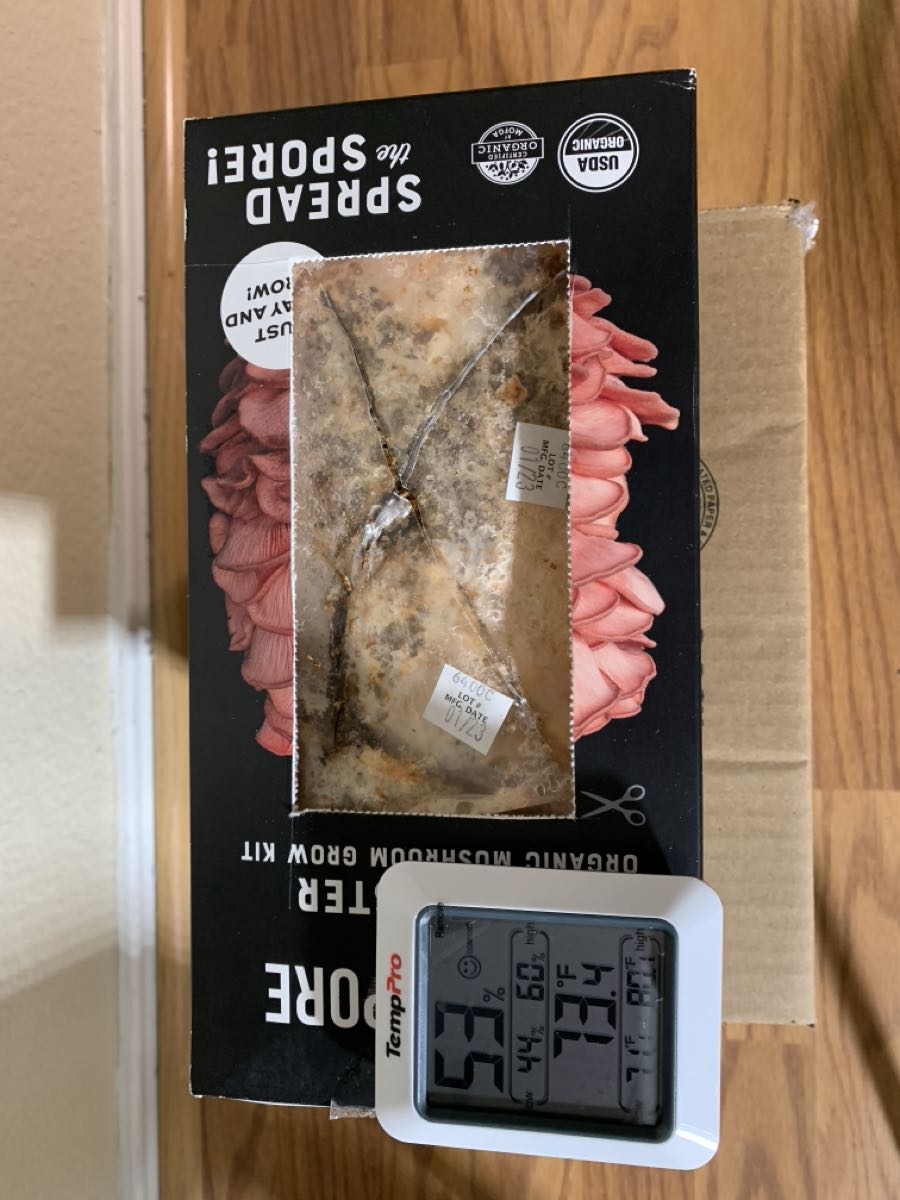
By the night of day two, tiny pink pins were forming across the cut. By the night of day three, those had become the first recognizable little mushrooms.
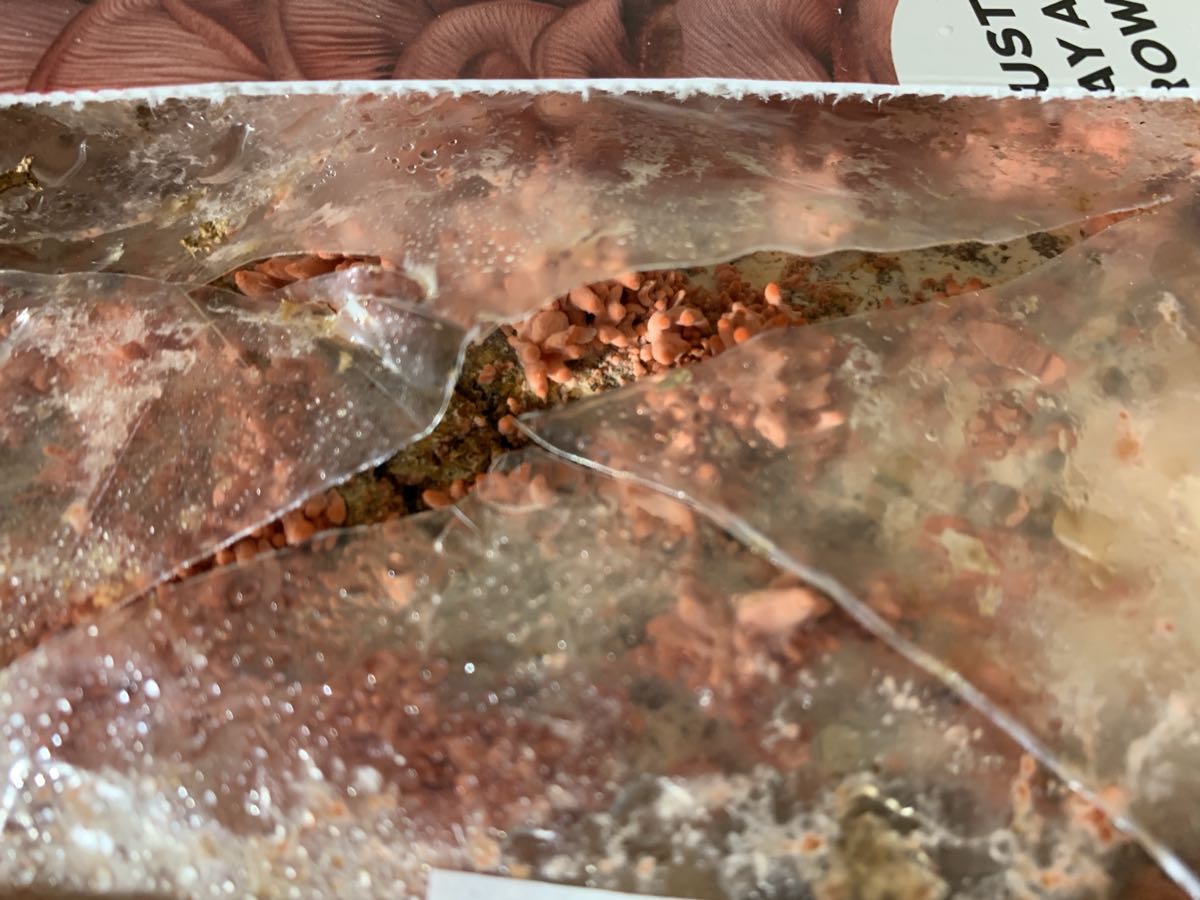
From there it was genuinely fun to watch. Day four they started reaching upward and the caps began to form. Day five was the most dramatic single jump, with the cluster taking real shape on top. By the night of day six it was several times the size it had been three days earlier.
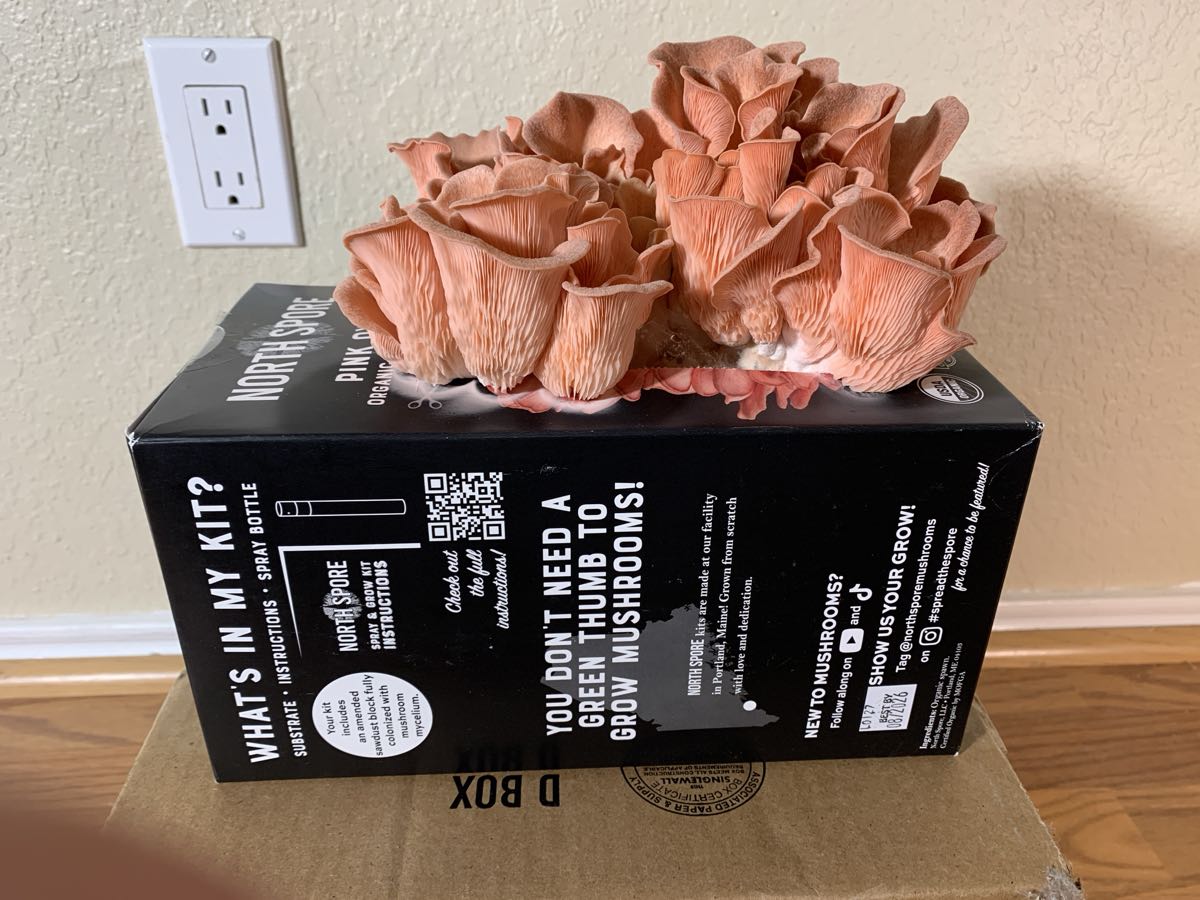
Around day six I also noticed a white buildup on the box near the base of the cluster, and I’d guessed it was spores. Worth correcting, because I looked into it. A fluffy or cottony white growth at the stem bases is almost always aerial mycelium, just the mycelium growing wispy in the humid, low-airflow box. It looks alarming the first time but it’s harmless and normal, not mold. Pink oyster is one of the heaviest spore producers of any oyster, but that spore drop is a pinkish-tan dust, not white, and it shows up a bit later as the caps flatten and mature. Real contamination looks different: green or black patches, sliminess, or a sour smell. None of that here.
By the night of day seven the cluster was big and had visibly lost its bright pink, going pale peach. Fading color is itself the harvest signal for pink oyster. I gave it one more night out of curiosity.
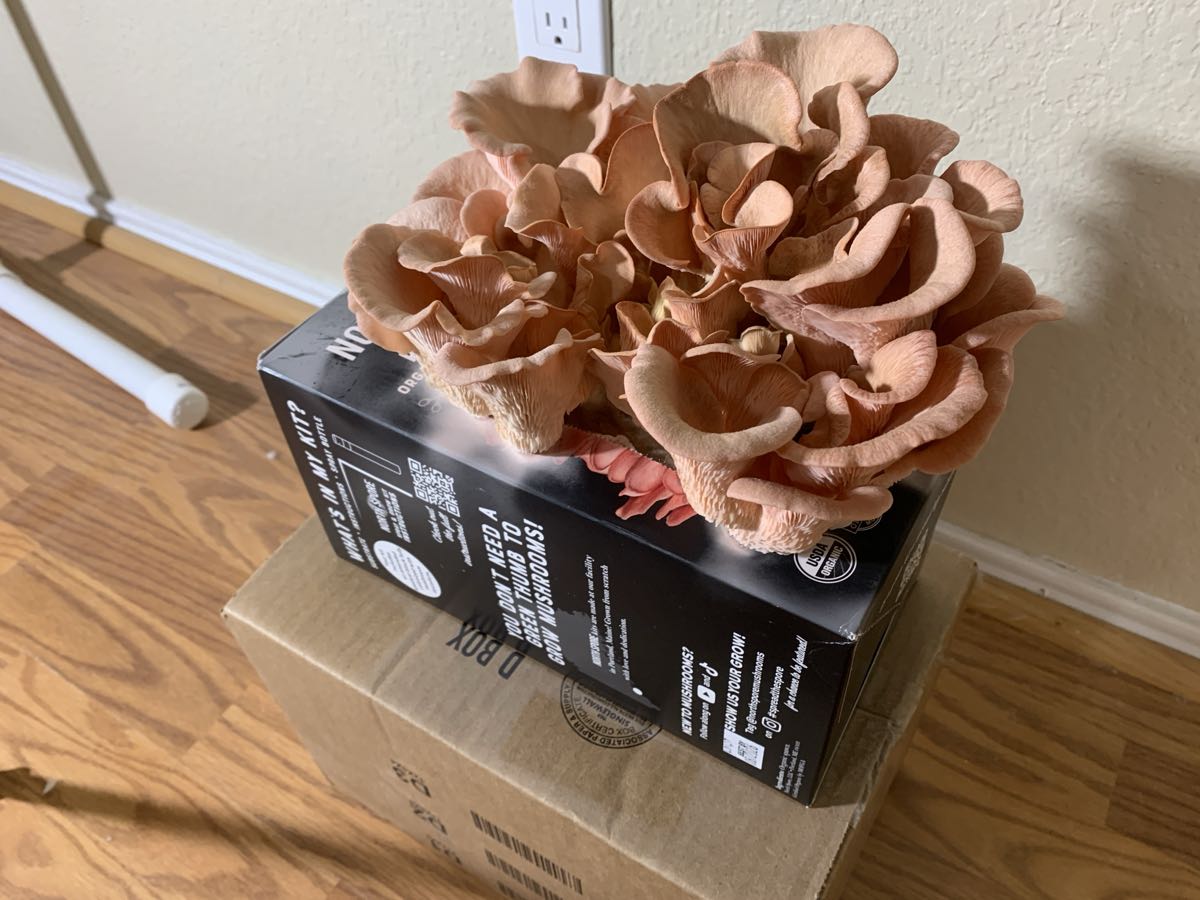
Harvest day, and what it weighed#
By the morning of day eight the caps were broad and pale and obviously ready. I harvested by gripping the whole cluster at the base and twisting it off in one motion, which keeps the block intact for a possible second flush.
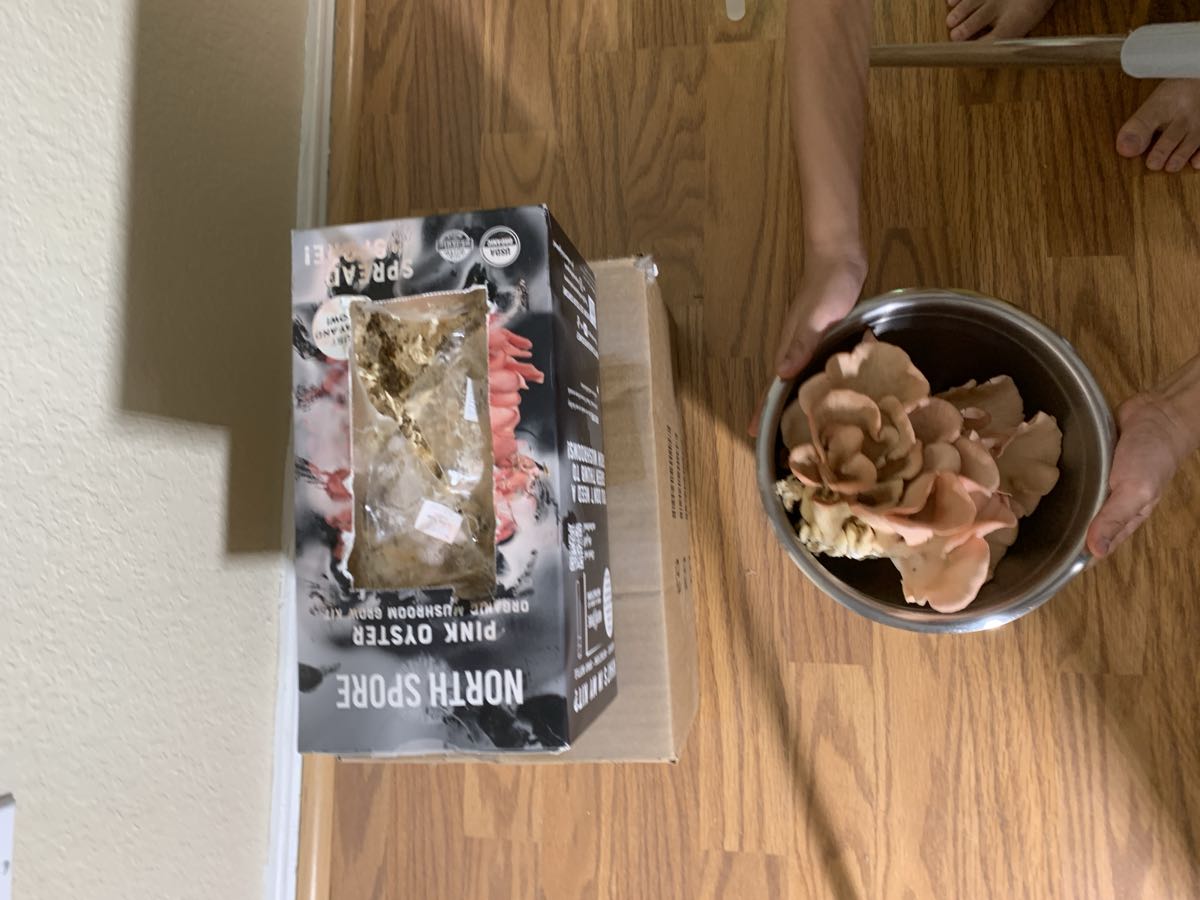
We put the harvest on a scale: 232.5 grams, about 8.2 ounces, just over half a pound.
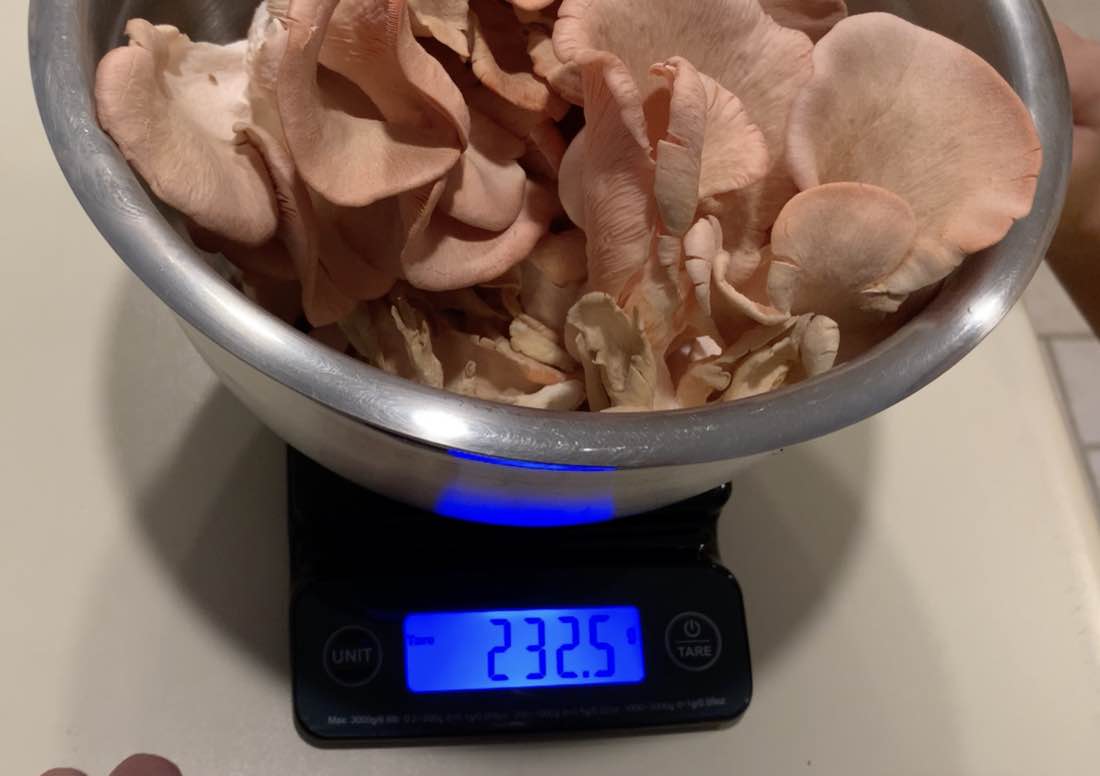
North Spore lists 0.5 to 1.5 pounds for the first harvest, so this landed right at the floor of their range. I’d call that a soft but fair result, and I mostly blame myself: a kit that sits a month before starting has been quietly burning energy the whole time, and pink’s first flush is the heavy one by a wide margin. A kit started the week it arrives, in a more humid spot, would likely do better. If you want the full picture on what drives oyster yield, our oyster growing guide covers it.
Cooking, and the short fridge life#
Pink oyster wants to be cooked hot until the edges crisp. We kept it simple. Tear the cluster into pieces, toss them in olive oil, and roast at 400°F for about eight minutes, then flip and give them another eight. The edges brown and crisp, and the flavor turns savory and a little smoky, close to the “vegan bacon” North Spore advertises on the Amazon listing.
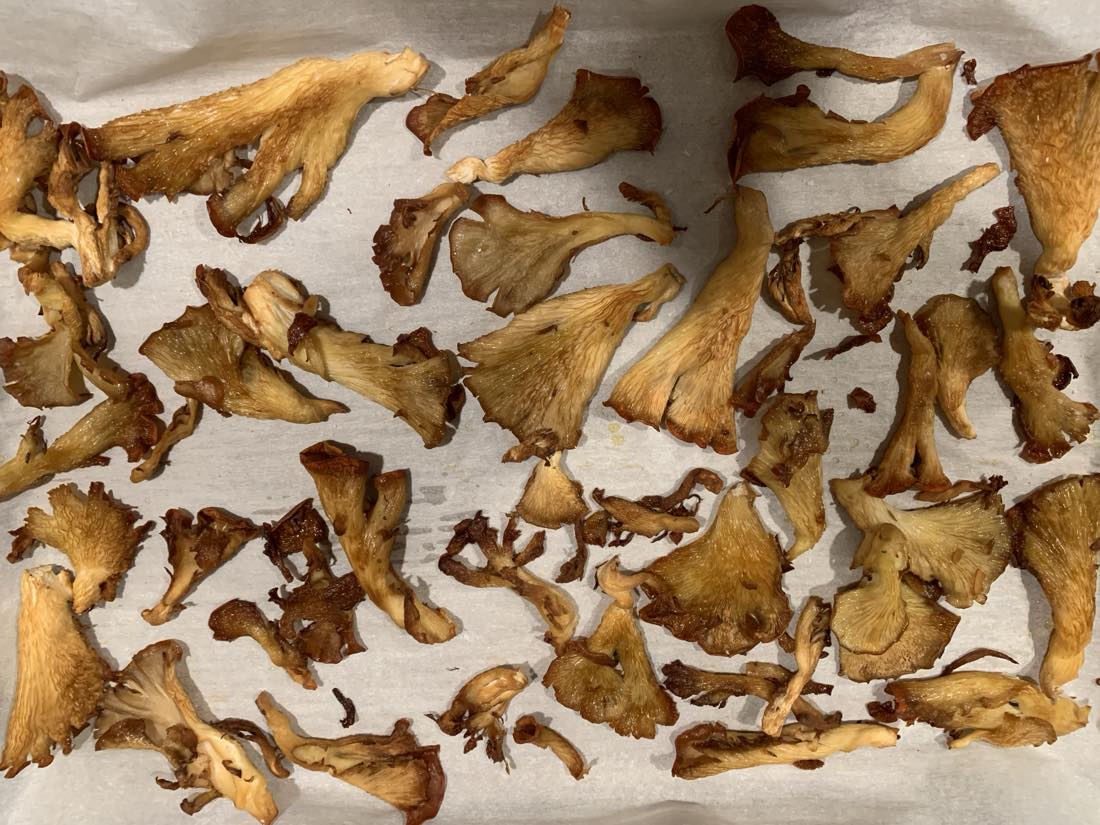
The real constraint is shelf life. Pink oyster lasts two to three days in the fridge, noticeably shorter than blue or pearl, because its caps are thinner and softer. It also fruits all at once rather than letting you pick a few at a time. So plan a meal around harvest day, or dry the extras. This isn’t the kit to grow if you want a handful of fresh mushrooms spread across a week.
The second flush came when I stopped trying#
Here’s the part I’d want a review to be straight about, partly because it surprised me. After the first harvest I went for a second flush the obvious way: kept misting the cut opening a few times a day, same as before. I did that for two weeks and got nothing. No pins, no activity.
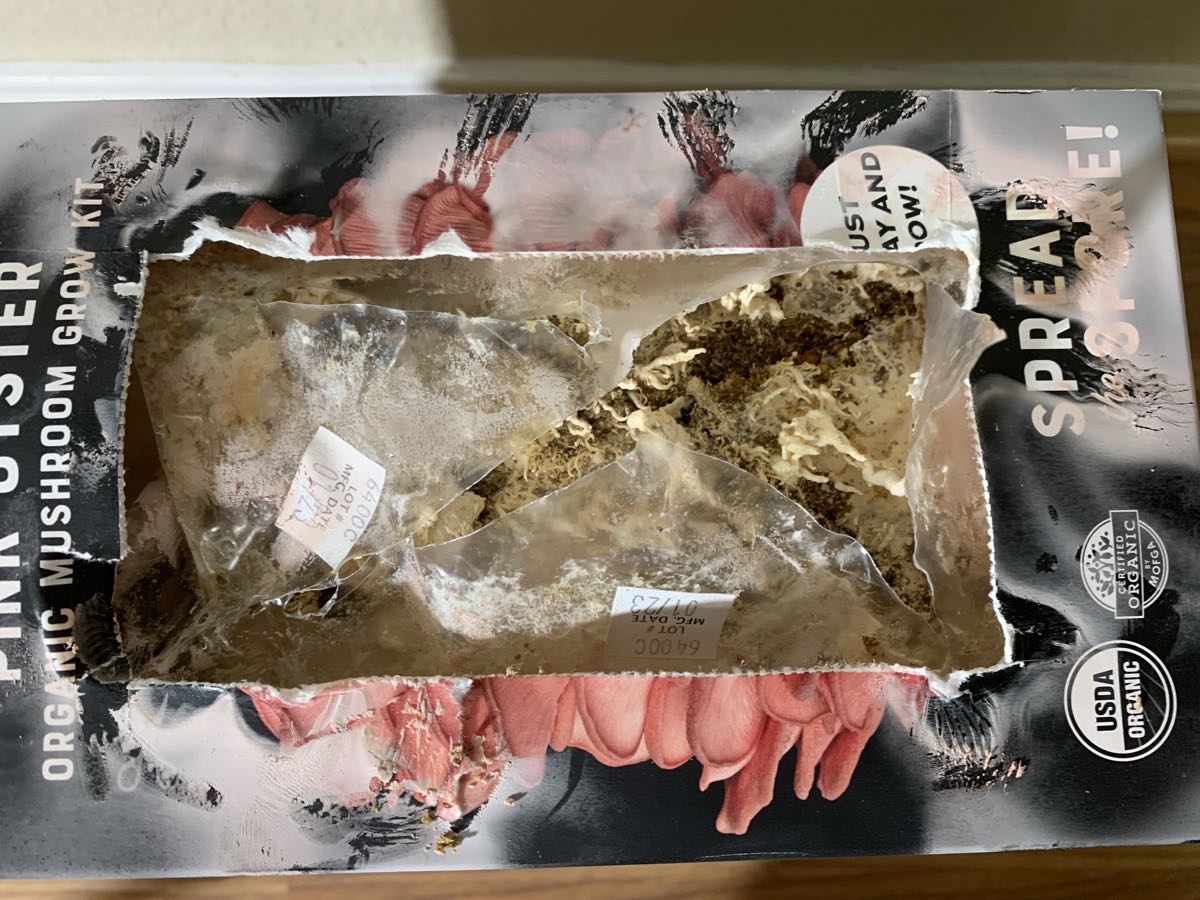
So I gave up. I stopped misting, set the box aside, and figured that was the end of it. About three days later I walked over to start a blue oyster kit and found small pink mushroom heads pushing out of the old block, roughly two and a half weeks after the first harvest. It’s a much smaller flush than the first, but it’s real, and I didn’t do anything clever to earn it. (Photos and a final weight to come once I’ve harvested it.)
Here’s what I take from that. Surface misting was never the thing holding it back, and it may have kept the cut too wet while the block just needed time and rest between flushes. If you want to push a second flush more reliably than waiting, the standard move is to rehydrate the whole block: soak it in cool water for several hours, even overnight, weighted down so it stays submerged. One detail matters for pink specifically: use cool or room-temperature water, not ice water. The cold-water shock that triggers blue and pearl oysters works against pink, because cold stalls a tropical species. A fresh slit on a clean face helps too.
Either way, set your expectations low for round two. The drop-off from first to second flush is steeper for pink than for blue or pearl. And if the block ever smells sour or shows green or black mold, that’s the end of it. Compost it rather than coaxing it further.
Who this kit is for#
If you want a first grow that’s hard to mess up and finishes fast, this kit delivers. The first flush is the easy, reliable part, and for about $30 it’s a genuinely fun introduction to growing mushrooms with nothing else to buy. It even forgave me forgetting it for a month.
A few honest mismatches. If your kitchen runs below 65°F, skip pink and pick a blue or pearl oyster kit instead. They tolerate cooler rooms and actually reward the cold-soak trick that pink resists. If the lowest price is your priority, Back to the Roots sells a cheaper oyster kit you can find at Target, and Out-Grow is worth a look if you’d rather step up to a plain grow bag. And if your real goal is a steady supply rather than one big harvest, a kit of any brand is the wrong tool. That’s when it’s worth reading our beginner’s guide to growing mushrooms at home and looking at grow bags.
For what it is, a fast, forgiving, eat-it-this-week first grow from North Spore, the pink oyster kit is an easy one to recommend. Buy it for the first flush, treat the second as a bonus, and have a hot pan ready the day you harvest.
Newsletter
Grow better mushrooms